DIY Plinko Board: Step-by-Step Tutorial
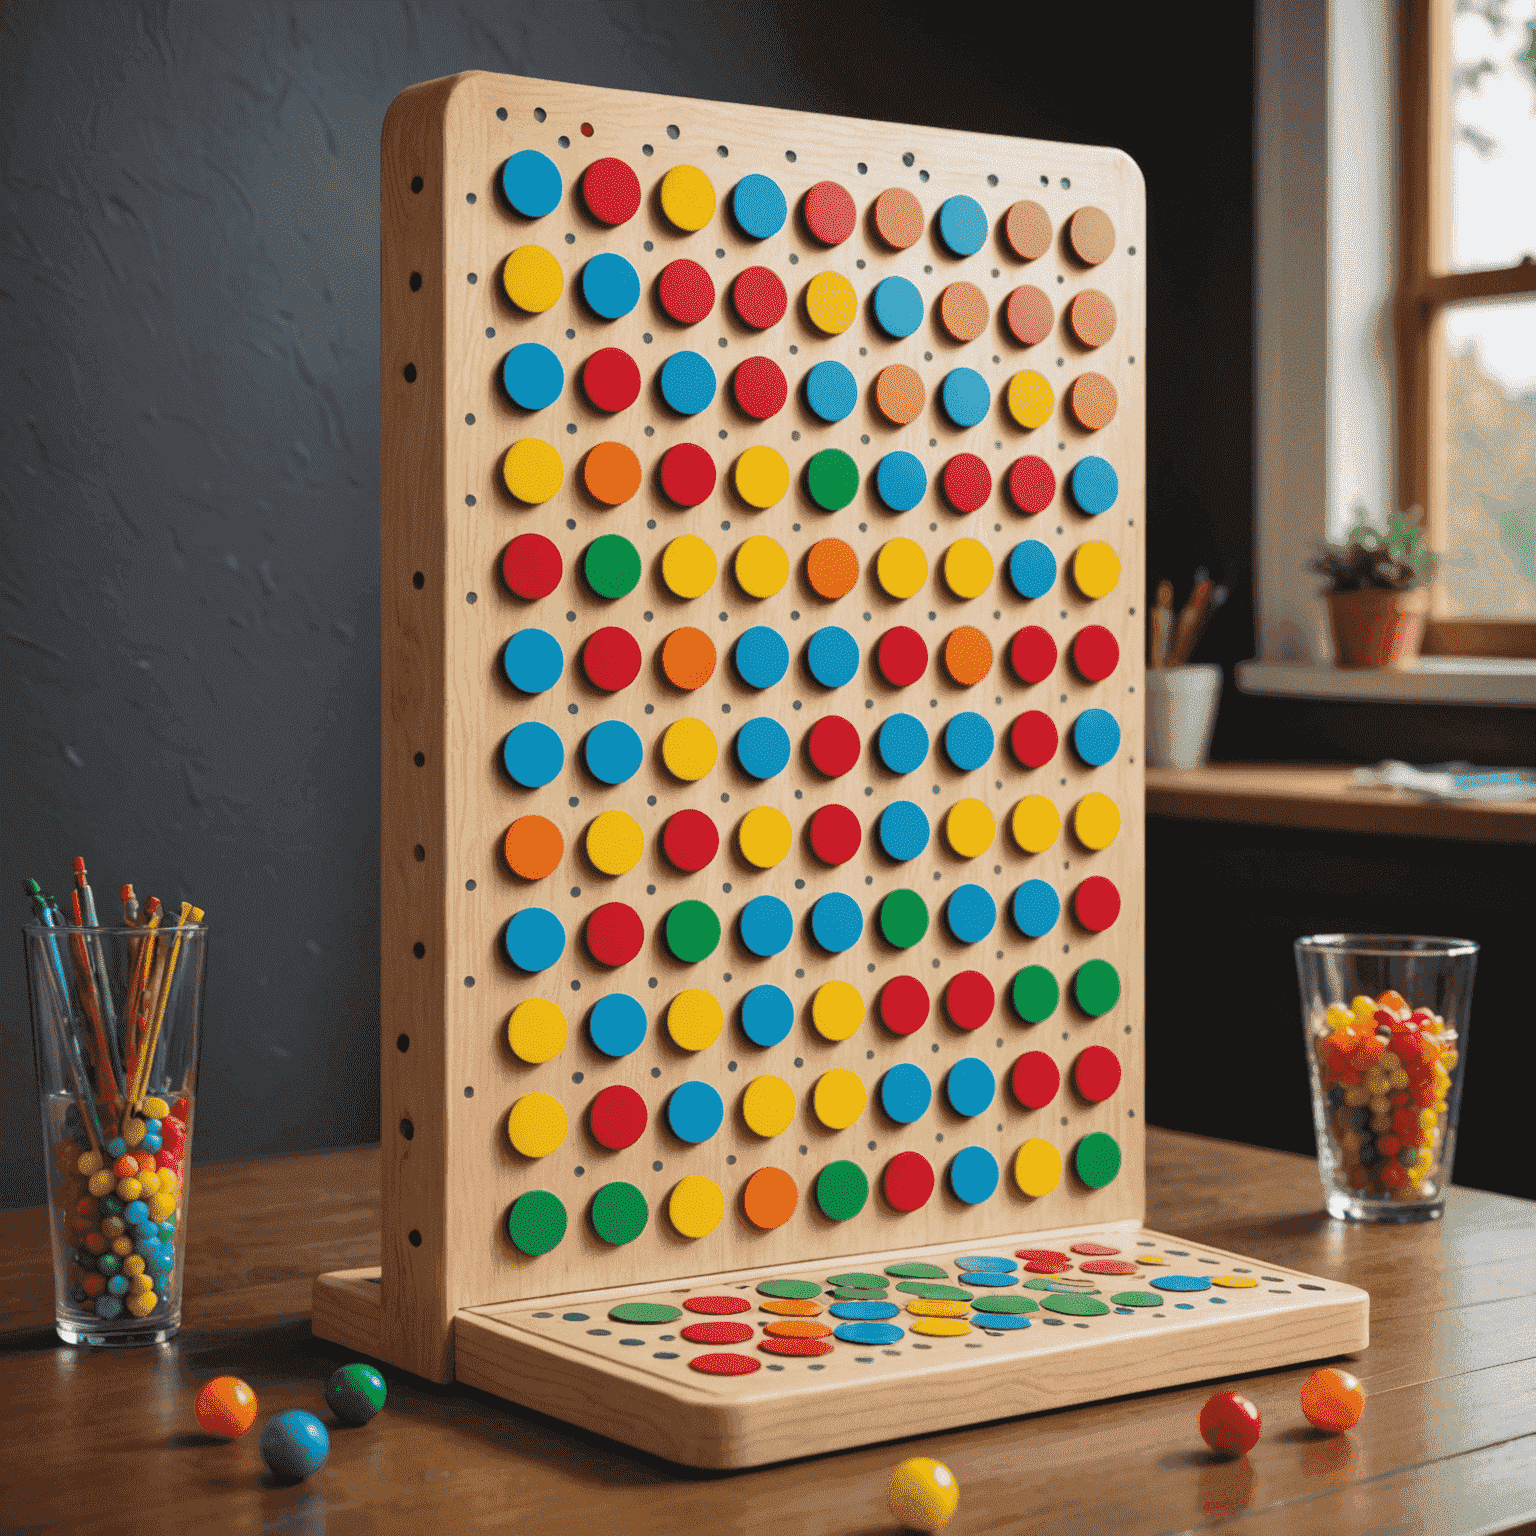
Create your own Plinko board for endless family fun at home with this easy-to-follow guide. Perfect for a party or family evening, this classic game will bring excitement to your gatherings.
Materials Needed:
- Large wooden board (4' x 2')
- 100 wooden dowels (1/2" diameter, 2" long)
- Wood glue
- Drill with 1/2" bit
- Sandpaper
- Paint or wood stain
- 5-7 plastic discs (checkers work well)
Step-by-Step Instructions:
1. Prepare the Board
Sand your wooden board until smooth. Apply paint or wood stain for a polished look. Let it dry completely.
2. Mark Peg Positions
Using a pencil and ruler, mark out a triangular grid for your pegs. Start about 6 inches from the top and space pegs about 3 inches apart.
3. Drill Holes
Carefully drill 1/2" holes at each marked position. Sand any rough edges.
4. Insert Pegs
Apply wood glue to each dowel and insert into the drilled holes. Ensure they're secure and upright.
5. Create Scoring Zones
At the bottom of the board, create 5-7 scoring zones using paint or by gluing thin wood strips.
6. Final Touches
Add a drop zone at the top center of the board. You can create this by gluing two short dowels in a V-shape.
How to Play:
- Hold the board at an angle or mount it on a wall.
- Drop a disc from the top of the board.
- Watch as it bounces through the pegs.
- Score points based on where the disc lands at the bottom.
Now you're ready to enjoy your homemade Plinko board! This game is sure to become a favorite at your next family gathering or party. Remember, the key to a great Plinko experience is in the precision of your peg placement, so take your time during construction for the best results.
Whether you're hosting a small get-together or looking for a fun activity to enjoy with your loved ones, this DIY Plinko board brings the excitement of chance and strategy right into your home. It's a perfect way to create lasting memories and enjoy quality time together.